Usually, as soon as I'm done with cards, I take photos. If it's night time, I take the best pics I can of the cards (since I don't have a photo tent to get great pics of the cards), and then wait until the next day and take pics outside.
It is very rare that I wait longer than a couple of days to post pics on my blog. But, today I was browsing through my computer to transfer pics to the flash drives my ma got me for christmas, and I came across a few cards that I realized I never posted here. So here are 4 easter cards that I made earlier this year for my friend Rhonda to give to her niece's and her MIL. I did 3 bunny cards, same layouts with the bunnies on 2 cards and then a mirrored layout on the 3rd one, but all 3 cards are different colors, and the bunnies are different colors as well. I also did a Magnolia/Tilda card for her MIL.
Here are a couple sneak peeks. click below to see the full pics. I hope you enjoy them, I can't believe I forgot to share them, they are SO adorable!!!
My card names:
Basket Tilda
Yellow Bunny
Pink Bunny
Purple Bunny
Before you read on, please know that this post is VERY image heavy. There are 18 pics in all, so if you're on any internet besides high speed cable modem, it may take a few moments for all the photos to load.
So, as you can tell from the previews, these are just ADORABLE cards! Here is my Tilda Card.
I colored her with prismacolored pencils and blended very well with gamsol. I love how she turned out.
I used the Stampin' Up! doily die to accent the background as well as some flourishes from my sizzix die. As you can see her eyes and shoes look shiny. I put glossy accents on them. All I could think of was when I was a little girl, my dress shoes were always really shiny!
For the sentiment, I had originally just stamped the sentiment (Stampin' Up! Circle of Friendship) and then punched it with a circle punch and matted it on a scalloped circle. but, it left too much open space and looked small. So I punched out a scalloped flower piece with my marvy silhouette embossing spring flower punch. the punched sentiment circle fit perfectly to cover the open space of the punched flower. I made 3 stick pins in coordinating colors and added them to the back of the sentiment.
It was actually pretty difficult to get them to stick. I tried everything! I finally settled on a TON of hot glue!! Once I got them hot glued to it, I used glue dots to attach it to the card.
The little flowers were originally all white and I colored them with my zig brushable markers. I love how the flowers turned out to be so rich and vibrant in color and they kept their silky look and feel. I thought for sure they would get stiff, because that is what happened when I colored one with a copic to test it out. I didn't like it so I went with my zigs instead.
I made this cute little bow with a long piece of 4 inch thick lace. I tied some coordinating blue embroidery floss (only 2 strings) around the flower stamens, and then threaded it through a coordinating pink heart button. I think it came out really cute and it really completed my card. It was actually the last item I put on the card. that corner was just so bare when I was finished and I couldn't think of what to add, but I knew I wanted some lace on here somewhere. So it turned out good.
for the inside I used some corner stamps to accent the corners and added a gem to each one. and then stamped 2 sentiments, the easter one with Stampin' Up! teeny tiny wishes and the love sentiment from the Occasional Quotes set.
Here is a pic of the card on it's back, you can see the dimension to the items on the card.
Here are my 3 bunny cards! I am just in awe of how adorable they turned out! Rhonda loved them and she said her niece's loved them, too!
under the sentiment, I cut out some eggs from a sheet of easter deco paper. Both the eggs and background easter paper are by the Paper Company.
I wasn't thrilled with just a plain scalloped circle so I added the doily diecut behind it, though I still think the plain scallop circle is kinda off, but it still looks cute.
I used the rubber stamp "Hippity Hoppity Easter" by Printworks (purchased at hobby lobby) on a punched piece of cardstock from the Stampin' Up! Decorative Label punch.
The bunny is from one of my soooooooo cute Basic Grey stamp sets "Little Piggy" from the olivia collection. I stamped her in black memento and colored her with prismacolored pencil and blended with gamsol. She was very cute, but I was all "bunnies are fuzzy, I gotta make that happen!" So, I took one of my white craft pipe cleaners and cut the fuzz off of it and then adhered it to the bunny with glossy accents. so she has fuzzy ears, belly and of course, a fluffy cotton tail!!
I gave her a bow that I tied from some baker's twine. Under the bow, she has a "stamped" bow that is originally stamped with the actual bunny image. I didn't like it with just the stamped bow, so that's why I decided to give her a real bow.
For the inside I used one of my rubber stamps of the egg. I am not sure what company this is from, I've had this stamp for many years and there is no label on it. The top sentiment is from the same Basic Grey set as little bunny. and the bottom senti is from the Stampin' Up! teeny tiny wishes set.
Here is my little pink bunny boo. I also used some cut out eggs under the senti. I mirrored the layout from the above card.
I still love the fuzz on the bunny, it just really completes the whole image! again, I gave this bunny a bow as well.
For the inside, I did the same thing as the above card.
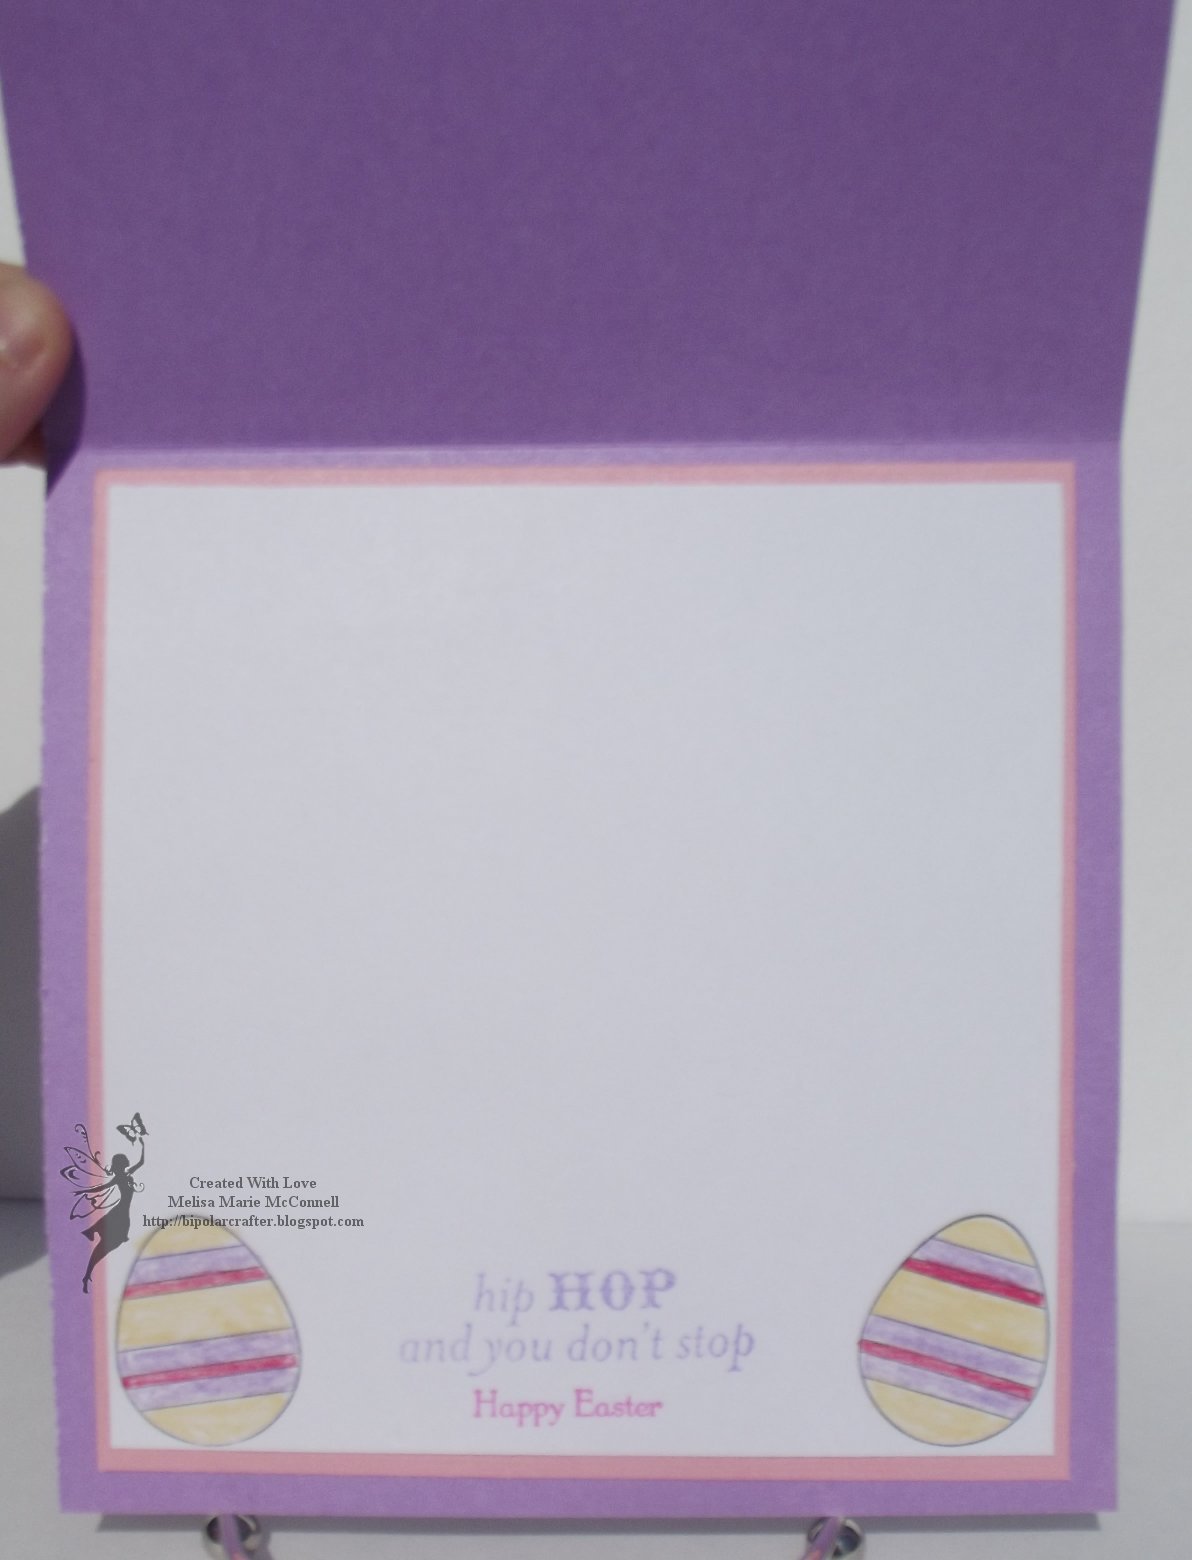
Here is the purple bunny card.
same layout as above, but I used scalloped circles instead of the doily die.
I again used fuzz on the ears, belly and the tail and gave her a cute little bow from baker's twine.
and the inside is the same as the above cards, for the senti and the eggs.
Well, I hope you like the cards I made. I looked through my files and I didn't find any other cards that I forgot to post, so for now this is all. I will be back later this coming week, or should I say "next year" with an update of all the cards that I made for my secret santa partner. We had a secret santa swap in one of my craft groups and my partner always loves when I make cards for her and do stamped images, so I made her a TON of cards! So there will be lots to share with you.
Even though this has been a very rough year for hubby and I, I have a very hopeful outlook that next year will be much better. I hope that all of you have a wonderful new year, too.
Keep on Craftin'!
~Melisa Marie
P.S. I'm not going to include a supply list for these cards like I always do, because I pretty much named everything I used as far as stamps, punches and dies. If you have any questions, just comment and I'll reply (just remember to click to subscribe to comments by e-mail so you get alerted when I reply).
Thanks for looking!


No comments:
Post a Comment
Hi! feel free to leave me a comment, I am always interested in what my readers think about my crafty creations! I reserve the right to delete any comment that is offensive or vulgar, and I will definitely delete ANY post that is SPAM. This does not mean I will delete your comment just because you say you do not like my work, but please just keep all language clean and help keep my blog clean and free of spam!
If you leave a comment, *PLEASE* click on "Subscribe by e-mail" so that follow up comments may be sent to you, because I *ALWAYS* reply to comments! Thanks!