
I made a fun card for my Ma, and a fancy, classy card for my Grandma.
This year for Mother's day, I wanted to try something new in my card making. It was my first ever attempt at making a card that wasn't perfectly squared, that didn't simply open from the side or the top. I made my first ever "center step card" for my Ma. For starters, I am HORRIBLE at measuring. usually I just lay paper on top of each other, scoot it over a tad and draw a small line at bottom, as to mark where I need to cut for the layers. LOL
Well, I didn't even have a ruler, so I got one at walmart. it's a really pretty fiskars ruler, and it was marked .97. it rang up as .10, yes, ten cents, people!!
Anyhow, the card came out awesome! I had been fussing with it for about 2 hours and i still couldn't get it down, after measuring, re-measuring, watching 4 you tube tutorials, I was still STUCK. so, I just put the card aside and moved onto my Grandma's card. the next day, when I got up, I searched one more time on you tube for a video tutorial, and I FINALLY understood from watching it. BEST tutorial on how to do this card!!
Anyhow, here are my cards, click below to see.
So, Here is the center step card for my Ma. I thought it came out SO cute!!!
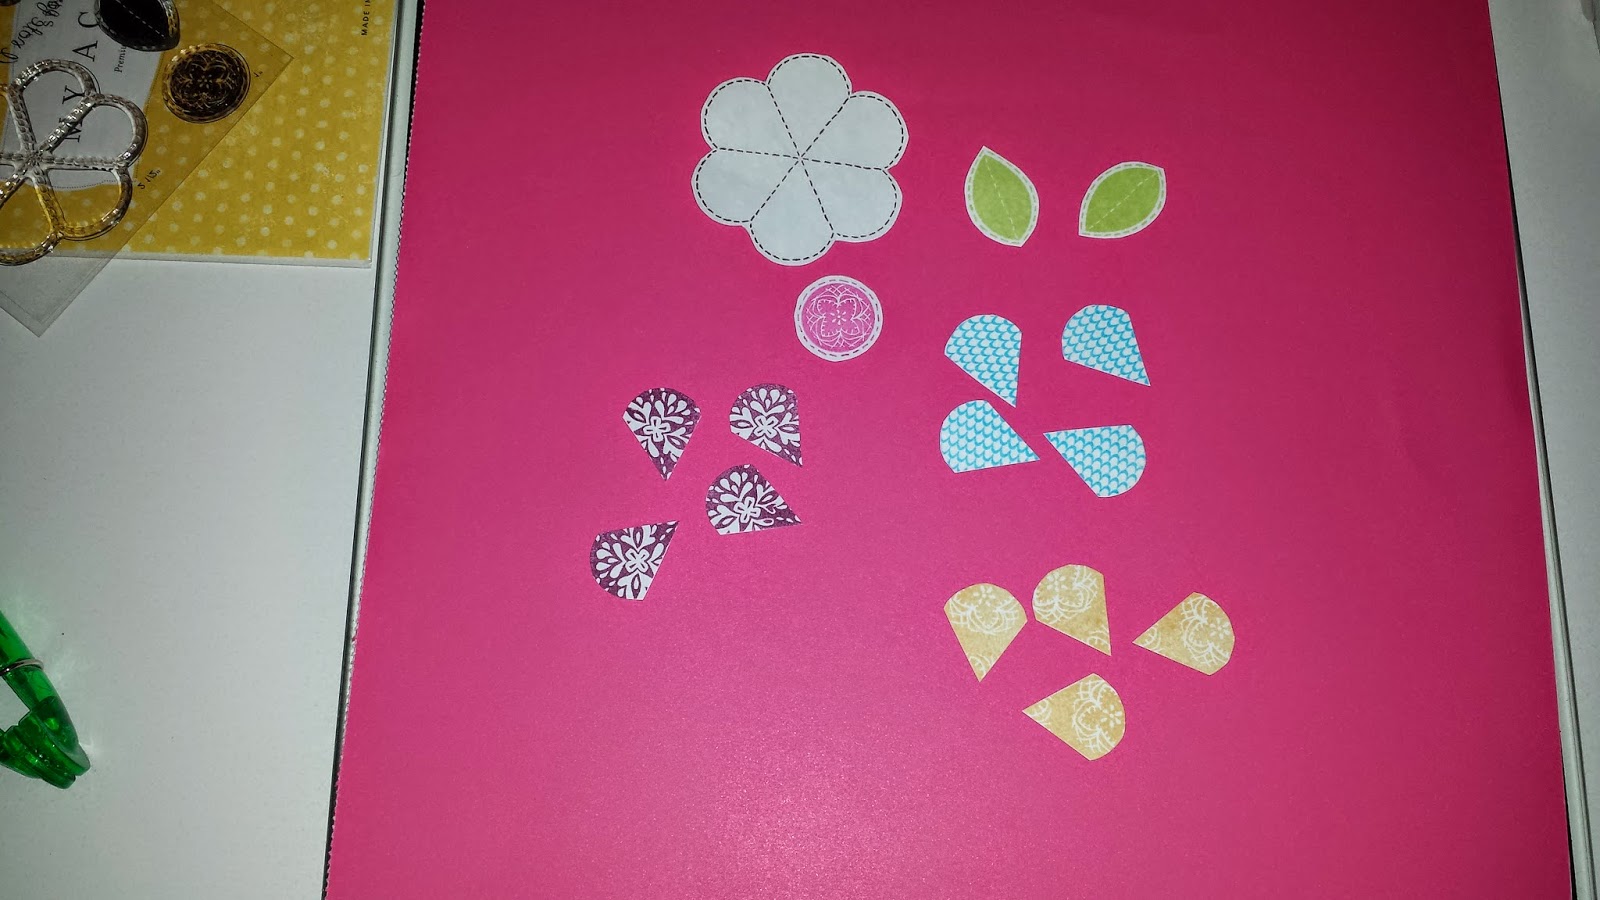
The flower is made from the CTMH stamp set "Just For You". I used SU! Melon Mambo (Pink) for the center medallion, SU! Tempting Turquoise, SU! Rich Razzleberry, and CTMH Creme Brule for the petals. For the leaves I used CTMH Sweet Leaf.

I stamped the background/outline of the flower, then I stamped each individual petal and leaves, and then hand cut them out. I put 2 of each petal on the background/outline layer, and then I created a 2nd layer by using the middle medallion circle and attaching the petals to it from behind.

It wasn't until AFTER I gave the card to my Ma, that I was aware that strip on the left side of the card was upside down. LOL She pointed it out to me. OOPPPPPSSSS see what happens when you work on a card for 2 hours at 3 am. lol


On the Inside I used the thinking of you sentiment from the K&Company-Amy Butler "Lotus Greeting" stamp set. It's stamped in SU! Rich Razzleberry


So that's it for my Ma's card. Here is the card I made for my Grandma...
I wanted something that was very beautiful, yet whimsical and still classy. This card had to be the most special card I've ever made. My grandma isn't doing too well, she is very old and is constantly sick. I am pretty sure this year will be her last, so i wanted something that would remind her of the joy and beauty that she's brought to everyone's life.


For this bottom portion of the front of the card I used some purple heart paper from the Recollections "All Girl" 6x6 paper stack. I had this GORGEOUS vintage lace with satin trim that I purchased last summer at a quilt yard sale that I went to with my Ma and my Auntie Erica. I got 2 yards of this lace from 1.50. I'd say that's a pretty good deal! That's what I love about those quilting yard sale is that it's people selling off their overstock, their un-used stash etc. so you get a lot of stuff for cheap!

The "Have a Wonderful Day" is actually a small clear stamp that says "Have a Wonderful Birthday", but I just inked the stamp up and then wiped off the "birth" part of it, so it just say "day". The "Love You" is also a small clear stamp, I think it's a Studio G stamp.

Well, those are my 2 cards for today, I hope you enjoyed and thank you for stopping by.
Check back soon, because I still have 25 other creations I've made to share with you.
Keep on Craftin'
~Melisa Marie
No comments:
Post a Comment
Hi! feel free to leave me a comment, I am always interested in what my readers think about my crafty creations! I reserve the right to delete any comment that is offensive or vulgar, and I will definitely delete ANY post that is SPAM. This does not mean I will delete your comment just because you say you do not like my work, but please just keep all language clean and help keep my blog clean and free of spam!
If you leave a comment, *PLEASE* click on "Subscribe by e-mail" so that follow up comments may be sent to you, because I *ALWAYS* reply to comments! Thanks!