
Here are are 2 beautiful witch cards that I made!!
Here is a sneak peek, click below to see the full pics.

For these 2 cards, I used the free digital (printable) image of "Hallows Eve" from Cuddlebug Cuties. This was a free digital image back in 2012 on their blog. Isn't she CUTE?!?!
The images above were both colored with prismacolored pencils and blended with paper stumps and gamsol. The image with the full grey background was the 1st one I colored and I tried to just do a grey shadow around only her body and under the pumpkins and cauldron, but I didn't like how it looked, so I filled the rest in. I still wasn't happy with the end result, but after posting on FB, the consensus was that more people liked the all grey one, than the one with the moon. I guess I'm too hard on myself!
Anyhow, here is the 1st card:

I love these little bats I used. They are from The Paper Studio, La Petites line. they are 3d foam bats, but they are soooooooo SHINY! they are just loaded with glitter. You saw these bats on my last couple of Halloween card posts, but I added the red stickles to them for eyes...I didn't do that for this card. I thought they were fine just how they were.

For the background, I cut out a spiderweb on the Cricut from the Happy Hauntings cartridge. I cut it out in black and added some crystal (I think?) stickles to it. (it might be diamond stickles, but I'm pretty sure it's crystal). In the top left and right corners, I added 2 skittles that I hand dyed with alcohol inks.
The "Hocus-Pocus!" sentiment ticket is of course, from Graphic45, it's the Steampunk Spells Chipboard punchouts 1 collection. I added a purple star brad to it and then attached it with ultra thick 3d foam pop squares.


On Eve, I used some glossy accents over her eyes and the bow on her hat. I didn't want to put it on her bow, but a little bit dropped on there when I went to lift the bottle away from her eyes, and well, that was that. :-/ glossy accents, once it's there, it's not coming off! LOL

I added some green sequin to the cauldron, I thought it looked really cute! I used a tad bit of glossy accents on the rest of the little bubbles that I didn't cover.
Also shown here is the cute bow that I made. I wrapped it around the back side of the Image and its mats, and then I tied it into a bow with a double knot (it won't come untied!) I used some of my favorite embellishment for this... the friendship bracelet thread, i.e. embroidery floss. Well, this stuff, truth be told, is actually THICKER than embroidery floss, and it's wound tighter so it has a real nice visible "swirl" to the ribbon.
Oh, and on her dress, there are those 4 little dots... those are really there in the image, I just colored them in with a black Zig Brushable marker.

Here's a pic of the card from the left side. I used 3d foam pop dots to pop up the sentiment ticket, as well as the image layers.

And the inside of the card. These 2 pieces inside were pieces that I printed on thick card stock and cut out. I just attached them together with a glue dot and adhered them inside the card with some glossy accents.

~~~~~~~~~~~~~~~~~~~~~~~~~~~~~~~~~~
And here is the 2nd card:
I did a lot of the same techniques as the above card, but just did a tad bit different of a layout. I guess you can say, I just "flipped" the whole layout.

I matted the image on the Top Note Die cut out, and did 2 extra layers of plain cardstock. I fanned them to the left of the image this time, instead of to the right as I did on the above card.

On this one, I didn't add any sequin to the cauldron, but I did do the black dots on her dress. Also, I put a little more embroidery floss on the left side of the image mat, and tied the bow on the right, rather than on the left.

I did use another spiderweb cricut cutout on this card though. I think these came in really handy. I had a LOT of fun cutting these out too, I must have cut at least 50 of these things, I'm definitely set up for my halloween cards for 2015!
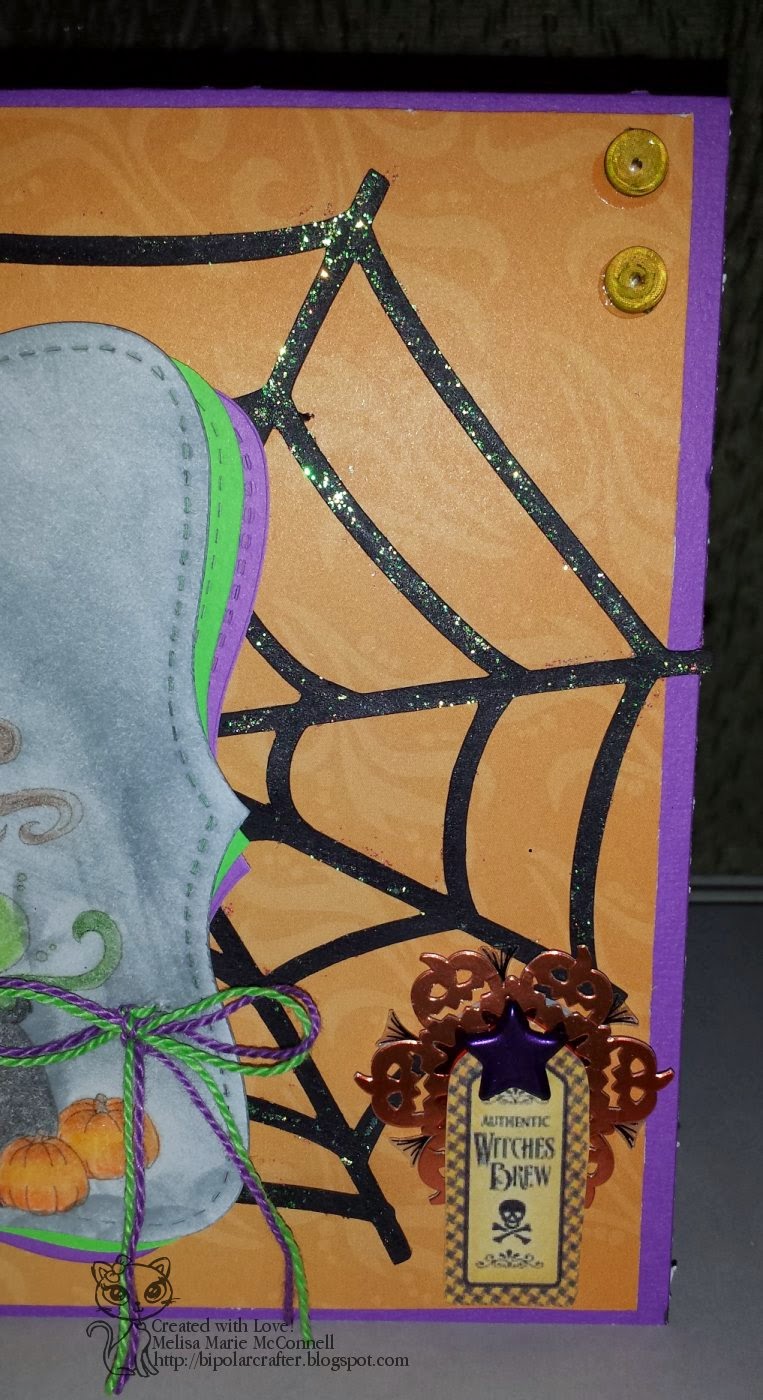
For the little sentiment I used another chipboard piece from the same Graphic45 punchout set. I added another star brad. this is all layered on top of some pumpkin die cuts, this die cut was part of the same set I was showing in my last blog post, that I was taking pieces and parts from to use where ever I wanted them. they come in REALLY handy!

Here is a pic of the card from the side. I didn't do anything to the inside of this card, except stamp "spooktacular" on the inside bottom left corner.

Well, that's it for this blog post! 2 more cards down and 14 more to go!! :) Check back soon and I'll show ya more!
Keep on Craftin'
~Melisa Marie
No comments:
Post a Comment
Hi! feel free to leave me a comment, I am always interested in what my readers think about my crafty creations! I reserve the right to delete any comment that is offensive or vulgar, and I will definitely delete ANY post that is SPAM. This does not mean I will delete your comment just because you say you do not like my work, but please just keep all language clean and help keep my blog clean and free of spam!
If you leave a comment, *PLEASE* click on "Subscribe by e-mail" so that follow up comments may be sent to you, because I *ALWAYS* reply to comments! Thanks!