
I don't much like "Hello Kitty". I mean, she is REALLY over utilized. In the last few months, I've seen Hello Kitty blenders, microwaves, laptops, hair dryers, curling irons, and even Hello Kitty SHOES.
But, I do have a few friends who really adore her. I mean, when I was a teenager, I was all about how adorable she was, but I've just totally outgrown her, I guess because I see her EVERYWHERE!
anyhow, I made my friend Denise and my Auntie Erica a Hello Kitty ZOMBIE card for Halloween. I do think she is absolutely adorable...as a zombie! LOL
Here is a sneak peek, click below to see the rest!

This first card was for my Auntie Erica. She really liked it! I think I ended up giving it to my mom to give to her, a few days after halloween. whooops! LOL sometimes, life just gets in the way. But, she got it, and she loved it, that's all that matters. She is a Hello Kitty freak! she loves her!
Here is a pic of the whole card front! Isn't it just so cute? I know I could have done more, but I really didn't want to do too much, that would end up taking away from kitty. I think SHE needed to be the star of the card. :)

I colored her with prismacolored pencils and then blended her with the paper stumps and gamsol. I love how well I was able to get different layers and hues of green on her. After I colored her body with the 1st layer, I colored about 4 or 5 extra layers of wax from the pencils and then didn't push it too much with the stump and solution, that way, it left a lot of different layers and colors.
I actually printed her from a coloring page... I just scaled the printable coloring page down to a smaller size, and then once I printed her, I cut her out with the Stampin' Up! Top Note Die.
Oh, and I laid a Nestabilities Circle on it's flat side and lightly drew a circle around her body, to make the moon. It didn't quite come out how I wanted, but it was good enough. I spent nearly an hour and a half coloring the image of her, so I didn't want to spend too much more time obsessing over getting the moon perfect.... I did that on another card I had made, and OMGosh, it took FOREVER to get it how I wanted it, and I ended up doing it 4 times and scrapping 2 of the images... OCD is not for beginners, folks, it's for nut jobs like me. LOL

Honestly, my FAVORITE part of her is her "teeth". LOL they are so tiny and sharp, it's just cute!


Though I don't like Hello Kitty, I really love how this card came out! it ended up being so very cute!
Now, here's the card I made for my friend Denise, another Hello Kitty lover (and I bet she didn't even know that I knew that!! See, I do pay attention to my friends!)
~~~~~~~~~~~~~~~~~~~~~~~~~~~~~~
Ok, so the card I made for Denise is a bit different than my Auntie's card. I did a different layout, but used a little strip of the some of the same bat/skull paper that I printed (and nope, I sitll don't remember where I got it from!!! I just remember it was a freebie printable).
This Hello Kitty was also a freebie printable coloring page that I scaled down. I used the circle Nestabilities to cut her out and then layered her on the scalloped circle Nestability cut.
The card base is a hot pink, and then everything is layered on black.

The green star background is from the $1.00 Studio G paper packs from Michael's. I think they come with 15 sheets of heavy duty 6 x 6 deco cardstock. I really LOVE these $1.00 packs and anytime I'm by a Michael's, and I have at least $1.10, I try to stop and grab a pack. They come in packs of "colors". like, all green, blue, purple, pink, etc. so far, I have a green, blue, pink and purple.
Speaking of purple, I colored kitties bow a pretty purple. I also used some variegated purple "friendship bracelet thread". I.E. embroidery floss.
I tell ya, this is another BARGAIN embellishment that I LOVE. I keep it on hand at all times!
I get the Mega Pack, which includes both basic colors AND neon colors. the pack comes with 56 skeins and each skein is 8.6 yards in length. when doing cards like this, that's a LOT of thread! LOL
the variegated thread comes in packs of 36 skeins, but each skein is still 8.6 yards. the mega pack is $5.88 and the variegated pack is $3.96. I think they are WELL worth the price!

Anyhow, here is a closeup pick of kitty. Like on my Auntie's card, I got lots of different layers of green. Though, after spending sooooooooooooo much time on my Auntie's card, I learned how to "quickly" layer the colors. all I needed was for the blending solution to dry quicker between layers, so I hit it with my heat gun so it would dry quick. Coloring this kitty only took me an about 45 minutes, compared to an hour and a half. Still time consuming, but I really don't care about that, it's the results I'm after, as long as they are good, the time was well worth it! :)
Coloring this kitty, she wasn't quite as zombiefied as on my Auntie's card... she was in the "barely dead" phase, so I just made her wounds orange, red and yellow. I gave them some shine with glossy accents.


Here's the card from the side. I used 3d foam pop dots to get the kitty circle to stick up from the card.
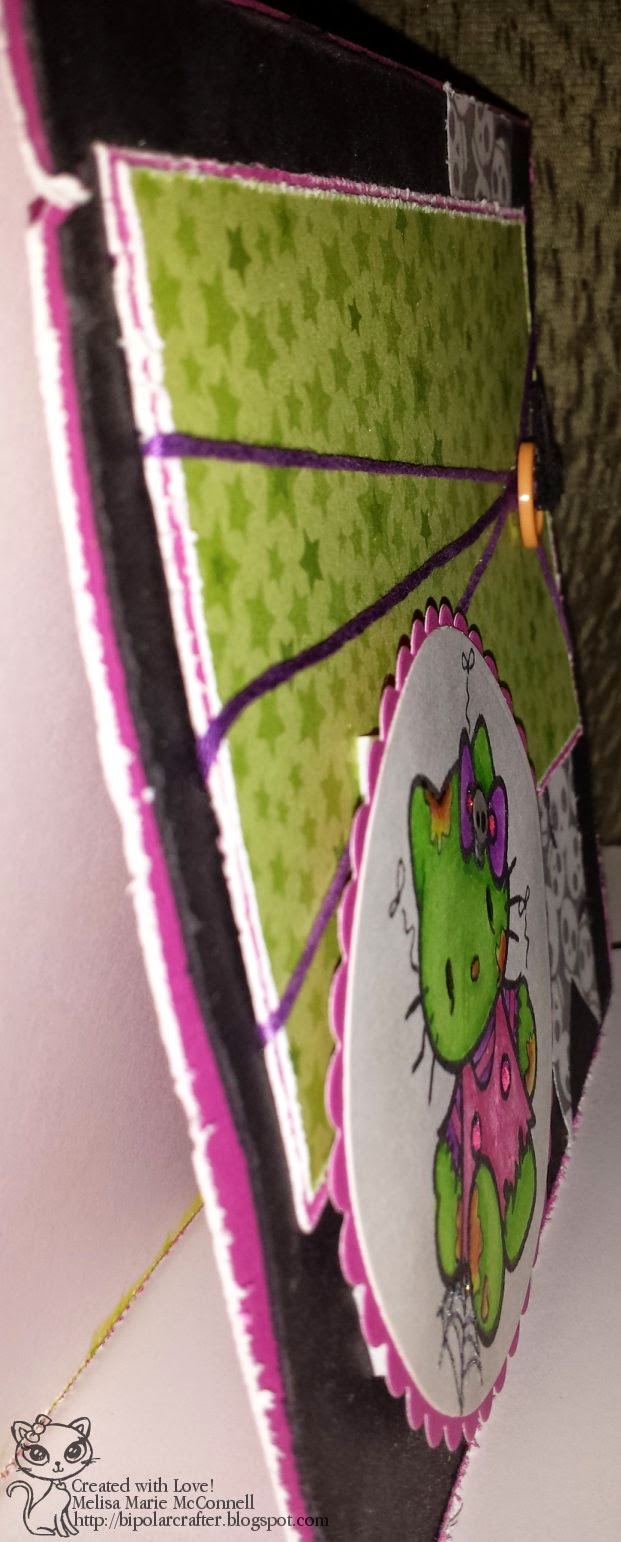
and on the inside, I used an orange ribbon and another of those cute zombie outbreak logo's. It's just adorable!

Well, that's these 2 cards. I have 16 more cards to share, so be sure to check back soon! I can't sleep tonight so I'm really trying to think hard and get these posts done so I can post my Christmas cards! the cuteness awaits!! ;)
Come back soon!
Keep on Craftin'
~Melisa Marie
Come back soon!
Keep on Craftin'
~Melisa Marie
No comments:
Post a Comment
Hi! feel free to leave me a comment, I am always interested in what my readers think about my crafty creations! I reserve the right to delete any comment that is offensive or vulgar, and I will definitely delete ANY post that is SPAM. This does not mean I will delete your comment just because you say you do not like my work, but please just keep all language clean and help keep my blog clean and free of spam!
If you leave a comment, *PLEASE* click on "Subscribe by e-mail" so that follow up comments may be sent to you, because I *ALWAYS* reply to comments! Thanks!