
It's no secret to most people that know my husband and I, we are big video game fans, but we are picky about our Characters. We are major Legend of Zelda fans. NO, the little boy is NOT Zelda, his name is Link.
We have played almost all the games, and we are currently working on Legend of Zelda, Twilight Princess, on our Nintendo Wii. We got this game as a gift last Christmas.
This isn't our Favorite LoZ game though, that would definitely have to be Ocarina of Time and Majora's Mask.
Anyhow, since hubby and I are both working on Twilight Princess at the same time, but we don't always play as much as the other, we sometimes get ahead or fall behind of each other.
Since we are using a game guide I thought it would be fun to make some bookmarks.
Click below to see the ones I've created. They turned out great!
I got online and did a google search for some new LoZ backgrounds, i.e.Wallpapers, that I could resize in my photo program and use to create the bookmarks.
I found some really neat Legend Of Zelda stained glass looking images over here at Wallpaper Craft. I go here often for wallpapers.
This particular wallpaper could be broken down into 5 different images, which is pretty much what I was looking for since I wanted to make my bookmarks double sided magnetic bookmarks. Using this cool image broken down into different pics, I could mirror the images back to back so that when I folded teh bookmarks over, each side had a different image.
Here's how I did it.
THE WALLPAPER IMAGE:

I took the above image and cropped it down to 5 individual images and resized them accordingly to the size I was going to make my bookmarks.
Once I had them resized to my desired size, I made a black background and then flipped one of the images upside down and placed it point to point with another image, in my photo program. Once I had that done, I printed the images out on white cardstock, and then I put them in the sleeves to run through a laminating machine.
My auntie got my Ma a really nice, small laminating machine for her B-day last year, and I tell ya, my Ma and I use this machine a LOT. I've actually made more bookmarks than these that I'm sharing here. Hubby and I both really like to read. :)
Here is how the images looked once I printed them out and put them in the laminating sleeves. I cut the sleeve down to size to fit. It was originally an 8.5" x 11" lamination sleeve.

On the back, I wrote our names, so we knew which bookmark belonged to whom. this was easy because we each picked which pictures we wanted to use on our bookmark, but just in case we ever forgot. ;) We are both getting up there in age, Myself, I'll be 37 this June and hubby will be 46 this June. YIKES!
I used business card magnets that I trimmed down. These magnets work PERFECT for bookmarks, and are even more perfect for using with the laminating machine because they are VERY strong magnets, but they are thin enough that they roll right through the machine without damaging it, getting stuck on the metal rollers etc.
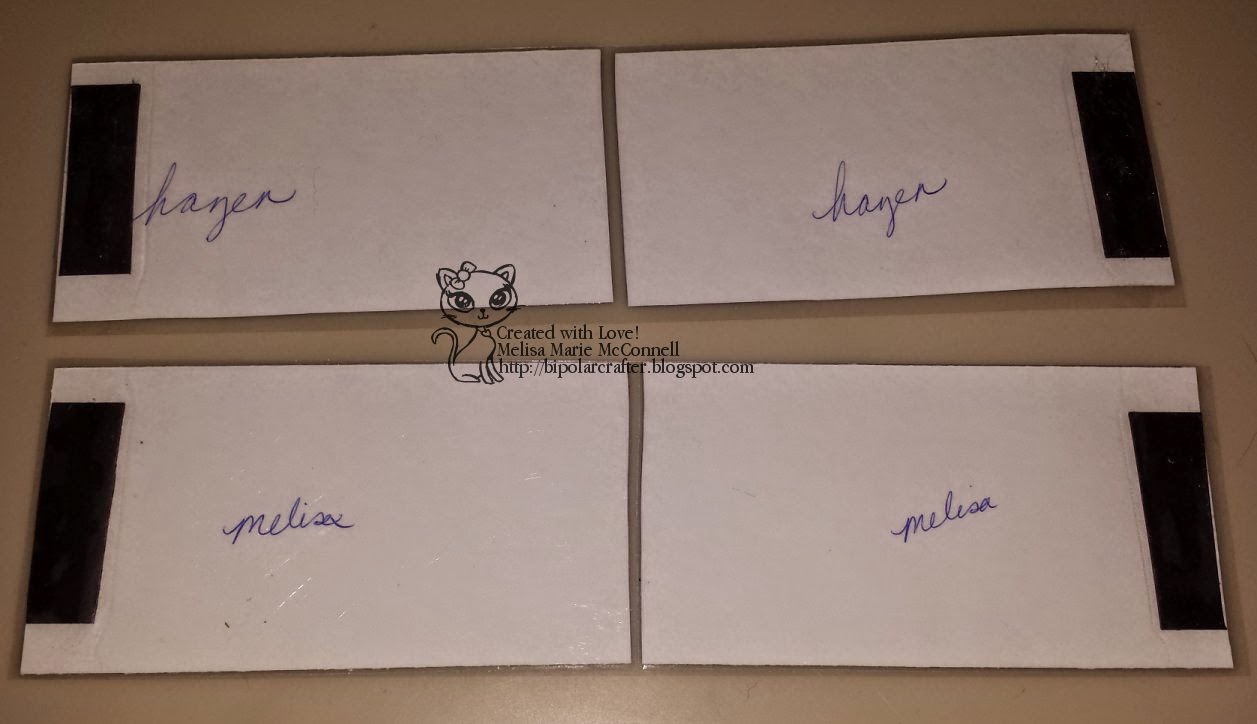
Once I had the magnets in the back, I started to run them through the laminating machine.

One pass through this machine takes about 45-60 seconds, DEPENDING on the thickness of the item being run through the machine.

The machine gets REALLY hot.

the bookmarks sealed really well the first time through, but I sent them through 2 more times just to get an extra tight seal especially around the magnets, because these will be handled a lot.

Here are the 2 finished bookmarks. They fold in the middle. That's possible because I left a small gap between the 2 pieces of cardstock when I originally put them in the sleeve, before laminating them.

Didn't these turn out SO cute?

Hubby really liked his, and they have definitely come in handy! I've made quite a few more bookmarks since doing these 2, all have turned out really well. I've done a couple more magnetic ones as well as just some regular double sided flat ones.
They are really fun to make, especially if you can find pictures that you like a lot. :)
Well, just thought I'd share how to make something quick, simple and fun. Making bookmarks like this are also a GREAT gift idea!! So if you ever need a quick and simple gift idea, just print out a picture that you think the recipient would like and have it laminated (or framed!) for long lasting viewing pleasure. :)
Thanks for stopping by to check out my crafts!
Keep on Craftin'
~Melisa Marie
No comments:
Post a Comment
Hi! feel free to leave me a comment, I am always interested in what my readers think about my crafty creations! I reserve the right to delete any comment that is offensive or vulgar, and I will definitely delete ANY post that is SPAM. This does not mean I will delete your comment just because you say you do not like my work, but please just keep all language clean and help keep my blog clean and free of spam!
If you leave a comment, *PLEASE* click on "Subscribe by e-mail" so that follow up comments may be sent to you, because I *ALWAYS* reply to comments! Thanks!