
Here are some previews, click below to see the full details and pics.
Card # 1 Preview

For card # 1, I wanted to make something very cute for my nephew. I know he wasn't even 7 months old yet, but at least it is something my brother and SIL can save to show him later. :) I had a lot of fun making this card, and my hubby even helped me on the design choice.
The stamp is one that belongs to my BFF that I found in her stash and decided to use. It is SO cute!!
It's the Stampendous Q161 Mumeek stamp. I stamped it in memento and then colored it with my prismacolored pencils.

I cut white cardstock out with Stampin' Up! Top Note Die and then stamped the image on it. I left room to stamp the spider web. I stamped the spider web in versamark and then heat embossed it in silver embossing powder. The spider web is from the Graphic 45 SC0579 set. I hand drew a line with an embossing glue pen and heat embossed that in silver as well. I then stamped the cute spider from TPC Studio Jeepers Creepers set.

For the white cardstock, it looked very plain on the front of the card by itself. I cut out 2 pieces of deco paper with the Stampin' Up! Top Note die and I layered them behind the image mat. I held them together with a couple glue dots and then used 2 black brads, one for each side in the middle of each point. I popped the mats off the card with some 3d foam strips.
These adorable little bats are glitter bats that were part of a piece of 12 x 12 scrapbook paper. I fussy cut them out and glued them to the front of the card with 1/2" thick foam squares. I also put glossy accents over their eyes.

I used glossy accents to fully cover the pumpkin to make it shiny and I also used glossy accents on the mummy's eyes and the dogs nose and eye. On the spider I used christmas red stickles for the eyes. I used a piece of purple shimmer ribbon across the card and then used black shimmer edged ribbon tied in a knot around the purple ribbon.

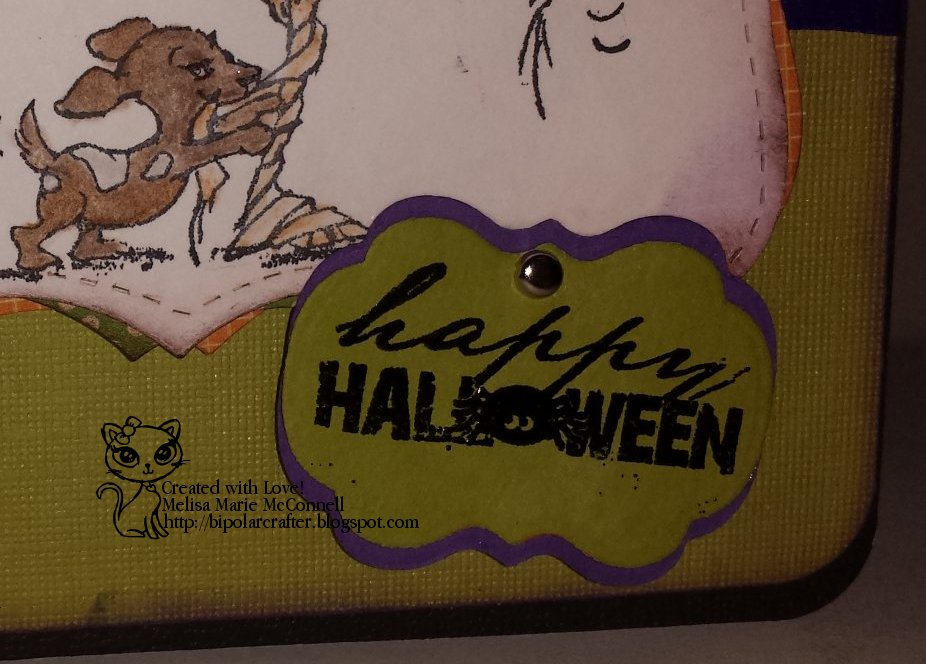
I stamped the sentiment in versamark and heat embossed it in black. I then die cut it, though I'm not sure which die set I used...it was my friends, not one I own. I added a shiny silver brad to the top of the sentiment.

I wanted to have plenty of room to write on the inside, so I covered both sides in white cardstock. The left side has a cute little green metal clip with a heart in in, and then I created a scene on the right side.
The bats are from Graphic 45 set SC0654, I'm not sure what set the "Ghouls Rule" is from, but the cat is from the TPC. Studios Jeepers Creepers set. I heat embossed another spider web and did another spider behind the cat.

The large bat in the middle at the top has red stickles for eyes and the 2 smaller bats have purple stickles

Here is the card sideways, there is a lot of dimension to the card. I love how this card turned out and I think it made a great 1st Halloween card!

For my 2nd card, I had fun making a cute witch scene.
I used the witch from my mini Studio G witch set. I cut a circle with Spellbinders Nestabilities and used Stampin' Up! Not Quite Navy with my Tim Holtz blending tool and felt pad to shade the moon.

I did a darker shading on the right side and kept the left side a tad lighter. I stamped the witch and then reinked only the broom and the cape and stamped it again, a little off set to make a shadow so it looks like movement.

I added 2 of these great glitter bats from The Paper Studio. These things are so cool, I love using them on my cards!

For the bottom of the card I stamped the sentiment from the witch set on green cardstock and used my Stampin' Up! Hexagon punch to make the V for the end of the flag. I cut a black strip of cardstock slightly bigger and did the same thing.
I used 2 purple skittles that I hand dyed in the bottom right corner. They matched the purple button so nicely.

I used orange grosgrain ribbon to tie a bow, I threaded some green friendship bracelet floss through the holes of the purple button and attached the witch hat charm to it. I used a few glue dots and some glossy accents to attach it all to the bow.

On the inside I used 2 Halloween printables to make a cute sentiment flag.

Well, that's my 2 cards for this post. Be sure to check back soon, I'll have more to share. I'm doing a good job of getting all caught up on my posting of my projects from last year!
Keep on Craftin'
~Melisa Marie
No comments:
Post a Comment
Hi! feel free to leave me a comment, I am always interested in what my readers think about my crafty creations! I reserve the right to delete any comment that is offensive or vulgar, and I will definitely delete ANY post that is SPAM. This does not mean I will delete your comment just because you say you do not like my work, but please just keep all language clean and help keep my blog clean and free of spam!
If you leave a comment, *PLEASE* click on "Subscribe by e-mail" so that follow up comments may be sent to you, because I *ALWAYS* reply to comments! Thanks!