
Card # 1 Preview


Card # 1 was for our friend Lisa and her cat, who lives in Massachusetts. She has a cat named Figgy, who is just so cute! So, I thought a cute cat card would be great for Lisa and Figgy.
The image is a pattern that I purchased from Urban Threads. Her name is Gato Muerto and she can be found HERE. I loaded it into my photo program and resized it to the size I needed to fit in order to diecut it with the Stampin' Up! Top Note Die. There's definitely a LOT going on with this card!

After I diecut the image I got to coloring her. I colored her with prismacolored pencils. I put diamond stickles in the middle of all the larger flowers to give it some nice glittery shine.

I added a cute orange bow to her ear and then added a green gem in the middle of it. After coloring her eyes, note and teeth, I put glossy accents over them. For the upside down raindrop decorations between her eyes I used stardust stickles.

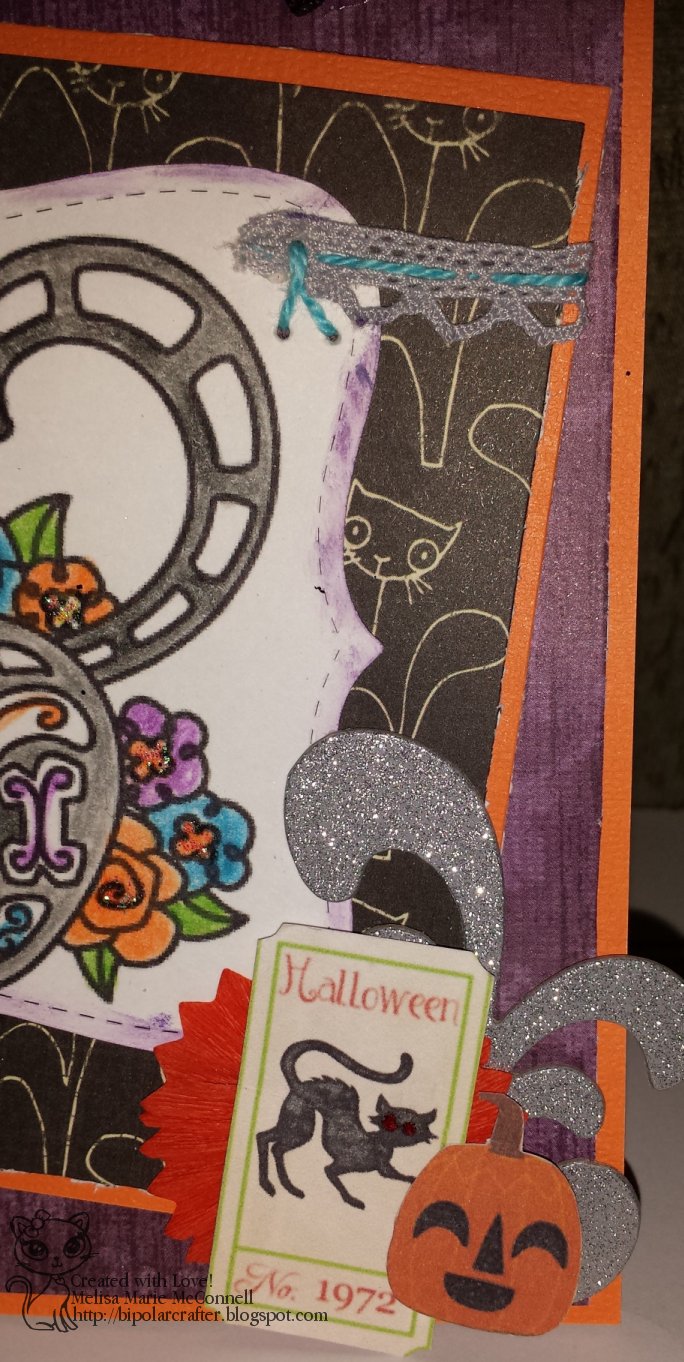
For the flowers, I layered 5 flowers from Prima, Recollections and a silk flower that I tore apart from a set of fake flowers I had. I put them all together with a black brad. I added a black glitter bat from The Paper Studio to the top right corner and the bottom left corner. I used christmas red stickles to give them eyes.

I used some lace from The Paper Studio 'Ribbon Scrap Pack'. The package I got has about a total of 5 yards combined of different colored lace like this. I used some friendship bracelet thread and wove it through the larger alternating holes. I then attached it to the Top Note die cut and glued it down behind the mat that I put the diecut image on.

For the bottom right corner I used a nice combination of things to make some card candy. I used a cute pumpkin printable that I fussy cut along with a sticker ticket that I put cornstarch on the back of so it wasn't sticky (this way, it didn't end up sticking to the card when it was squished in the mail). I layered those 2 items on top of a Recollections paper flower and then used glossy accents to glue the whole combination on top of a glittered chipboard flourish. I attached it to the card with lots of glue dots and glossy accents, I wanted to make sure it didn't come loose!!
There's lots of dimension to the card candy I made.

I love the dimension of the flower, too!


For the inside I used another pumpkin printable that I fussy cut and I found a printable ticket on Google images and printed it on bright green copy paper. I inked the edges of the white cardstock inside with some Stampin' Up! Tempting Turquoise to bring in some color from the front of the card.

Lisa and Figgy loved their card!
Card # 2
I made this card for my grandma. Sadly, this was the last card I got to make for her because she passed away not long after Halloween. That was another reason I didn't do any blog posting for so long. I was dealing with being in the psychiatric unit for a month and a half and dealing with the death of my grandma right after I got home from being hospitalized.
My Grandma really loved cats. We always joked she was the "old cat lady" cause she really was! She fed all the neighborhood stray cats and she loved them all!!

The image I used for this card was actually a free tattoo design image from HERE. The image was very large after being downloaded, so I just resized it in my photo program. After printing it, I colored it with prismacolored pencils and blended the blue in the moon with gamsol (odorless mineral spirits).
After coloring the stars a light purple I used stardust stickles over them to make them shimmer.

I colored the cats' eyes in green and then put glossy accents over them to make them have some dimension. I distressed the edges of the image and then I ran a piece of green cardstock through my Sizzix Big Shot with the Cuttlebug Swiss Dots embossing folder. I then distressed the edges of that cardstock and put the image on it. I thought turning the green cardstock sideways looked pretty cool.
The ribbon is actually some Halloween fabric that I had left over from when I made a mug rug for my hubby. I used the orange with black polka dot fabric and mixed some fuzzy green ribbon with it to help it tie into the card. If you look at the pictures above, you can see that I used 4 orange skittles, 2 each in the top right corner and bottom left corner.

On the inside I used my white cardstock so that I'd have somewhere to write, I inked the edges in green to bring in some color from the front of the card, and then I used a free printable ticket and printed it on blue copy paper since that matched the color of the moon from the front of the card.

Well, I hope that you liked these 2 cards. It's always fun making Halloween cards!
Be sure to come back soon and check in because I still have lots of catching up to do. I just have a few more Halloween cards to show and then a couple Christmas cards and I'll be moving on to my regular, non-holiday projects.
Keep on Craftin'
~Melisa Marie
No comments:
Post a Comment
Hi! feel free to leave me a comment, I am always interested in what my readers think about my crafty creations! I reserve the right to delete any comment that is offensive or vulgar, and I will definitely delete ANY post that is SPAM. This does not mean I will delete your comment just because you say you do not like my work, but please just keep all language clean and help keep my blog clean and free of spam!
If you leave a comment, *PLEASE* click on "Subscribe by e-mail" so that follow up comments may be sent to you, because I *ALWAYS* reply to comments! Thanks!