
My younger, but much bigger than me, brother just turned 21!! I wanted to make him a quick and simple card... Hubby urged me to just "buy" him one, but I just couldn't bring myself to do it! He never calls me and thanks me for the cards and I'm pretty sure they just get thrown in the trash. but I don't live with him so who knows. :-/
I wanted to do something 'cute' but not to childish, but still kinda cool and flashy. I like the how the overall card turned out, but I don't like that it turned out so child-like. eh, I can't win 'em all, it did turn out cute and actually a little better than I planned. :)
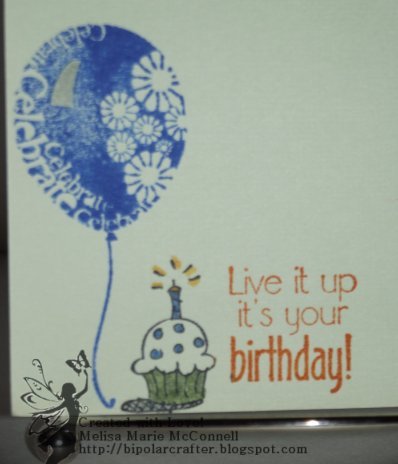
Here's a sneak peak. clicky click below to see the rest!

So, I guess you were interested.... let me first start by saying, NO, I didn't violate about a dozen laws by photo copying money! I did actually use REAL money on this card. LOL I went to the bank and got a crisp, new $2 bill and a crisp new $1 bill. :)
For the top layer, I used the paper source 'shimmer sapphire' cardstock. I embossed it with my cuttlebug happy birthday embossing folder and then I inked up my brayer with colorbox silver inkpad and went to town over the raised embossed top! I love how it turned out. you honestly can't see the super shimmer on the pic, but in real life it's just aweeeeeeee-someeeeeeeee!!!!! :)


here are a few pics of the card on it's back. as you can see it's flat except for the candle rolls and the ribbon.


when taking the photos, I realized that I did forget to glue run the inner part of the bill, so when I finished, it kinda unrolled on the inside underneath the first layer that I used the glue runner with! LOL but it still looks ok from the front, as you've seen from the pics above.
here is the inside:
I hope you've enjoyed looking at my card! it was fun to make! :)
Keep on Craftin' and please, be kind to one another!!!
~Melisa Marie
You definition of 'quick and simple is bizarre...
ReplyDeleteThat's really great for a 'simple' BDay card...
Good job!
I hope you are felling better, darling. *smooooches*
LOL, well, it did only take me about 20 minutes to make this. so that isn't too bad for me. :) it would have taken less time (about 10 mins) but I wanted to make sure that the silver ink I ran over the top embossed part was completely dry!
ReplyDeleteI'm glad that you like it love bug.
*beijos* (I just LOVE saying that it's like my new fav word now, haha).
I'm feeling a little better, still pretty beat up and rough, but I'm getting there! TY honey.